Today I learned about PicGo an open source project which provides a relatively lightweight tool (it is an electron app so… 😬) which runs in the background and can upload images from your clipboard or filesystem to a host of your choice. The main README for the project is written in chinese which unfortunately I can’t read. However, I was able to fumble my way through with some use of Google Translate and some guesswork.
A bunch of services are supported out of the box or via plugins listed here including Nextcloud, SFTP and S3 upload.
Motivation
I find posting new content to my site a little bit of a pain. I have my own micropub implementation and server which means I can quickly fire off the odd photo or note pretty easily, but when I’m writing a long form post, I find it quite irritating to have to manually do file management with images. PicGo + SFTP means that I can stop worrying about that and with the touch of a few keys, I can have images in my clipboard uploaded to my website and replaced with relevant markdown image embed code.
Telemetry
Before I launch into this, I noticed that PicGo does seem to collect telemetry. As far as I can tell it’s anonymised “users tend to click on this button after 10 seconds” type of telemetry rather than sending a copy of all your images to some dodgy server type of telemetry. However, if you’re concerned you might want to have a dig through the code before making a decision.
Installing
Installation is a breeze for Linux users who are happy to work with AppImage format. I imagine it’s easy enough on Mac and Windows too.
Firstly, I downloaded the latest AppImage for linux from the release page. Then I ran it via the AppImage Launcher. Hey presto, it started.
Set the Language
If you, like me, are unable to read chinese. You might want to change the language.
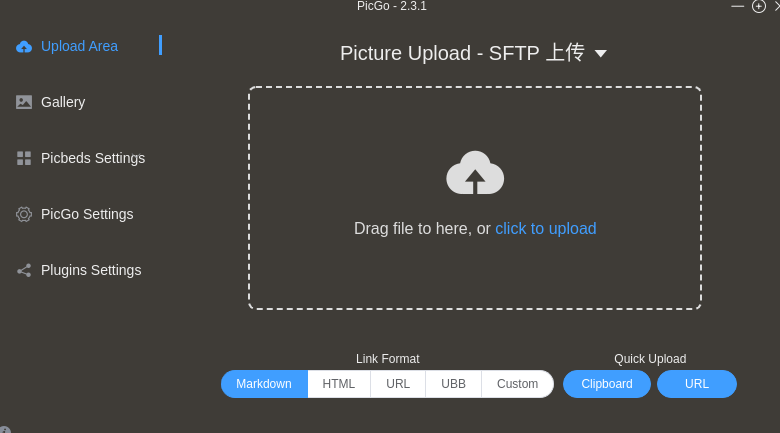
The app opens in chinese on first run so you have to fumble your way around in the GUI to switch to English. First click on the tray icon and click on the first menu item to bring up the main window. The menu option with the cog next to it is the settings pane and then Language is the first option - the select/dropdown box.
Restart the app so that the context menu reloads in English.
Setting up SFTP
I run my website on a VPS which I normally upload stuff to via SFTP. I wanted to make it easy to paste images and have them uploaded to my website via SFTP and get a URL.
Install the Plugin
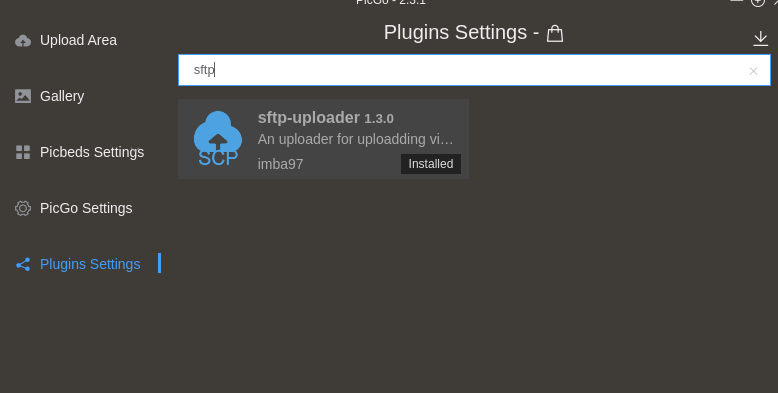
Open up the Plugins tab in the main dialog and search “sftp” - install the first plugin that appears:
Write a config file
Next we write a JSON config file that we can use to tell the SFTP plugin how to log in to the server, where to store the files and how the path in SFTP maps on to the website path.
I created mine in my home dir and called it .picgo-sftp.json:
{
  "mysite": {
    "url": "https://mysite.com",
    "path": "/media/{year}/{month}/{fullName}",
    "uploadPath": "/var/www/mysite.com/media/{year}/{month}/{fullName}",
    "host": "somehost.com",
    "port": 22,
    "username": "vpsuser",
    "privateKey": "/home/user/.ssh/id_rsa",
    "passphrase": "",
    "fileUser": "vpsuser",
    "dirMode": "0755"
  },
}
The config format is straight forward and pretty easy to understand.
- url is the root url of your site (where your images will be visible from).
- path is the folder path that will be appended to the root url in order to generate your image url.
- uploadPath is the actual filesystem path inside SFTP where the image will be stored. This should reflect the URL path based on your web server config.
- In the above example, I have have nginx set to serve
/var/www/mysite.com/media/when someone hitshttps://mysite.com/media/.
- In the above example, I have have nginx set to serve
- In both
pathand `uploadPath We use special variables which get replaced with actual information at the time of upload:{year}- the current year i.e. 2023{month}- the current month i.e. 07{fullName}- the name of the image e.g.mypicture.jpg
- If I were to upload
mypicture.jpgon the 1st of April 2023:- the file would be written to
/var/www/mysite.com/media/2023/04/mypicture.jpg - the url returned by picgo to my clipboard would be
https://mysite.com/media/2023/04/mypicture.jpg
- the file would be written to
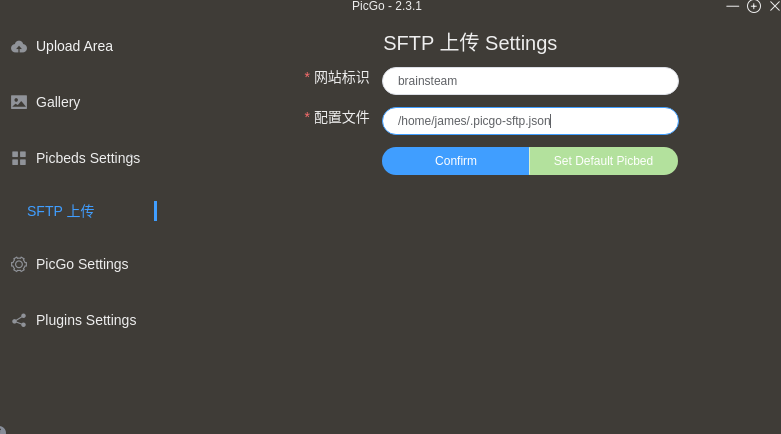
Once you save your config json, you’ll need to go to Picbeds -> SFTP and enter the path to the json file in the 2nd box and the name of the site in the first box (this corresponds to the top level key in the json which is mysite in the example above. In theory you could have multiple sites configured).
Final Tweaks
Filename Clashes
I enabled a couple of options to make it easier to avoid name clashes on my server (i.e. uploading 2 files called image.png on the same day ends up overwriting the older one).
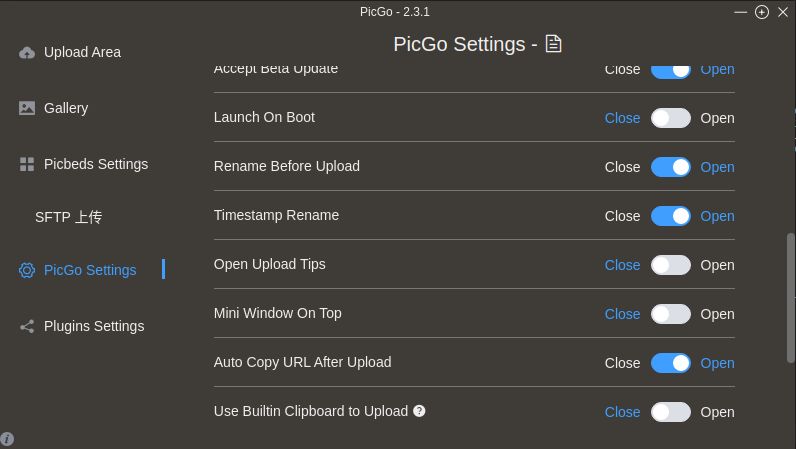
- Rename Before Upload - PicGo seems to prompt me to enter a new filename at the time of upload whenever I upload anything
- Timestamp Rename - by default PicGo will replace the filename with the current timestamp down to seconds so I don’t need to necessarily do anything to rename the file unless I want to give it a more descriptive name.
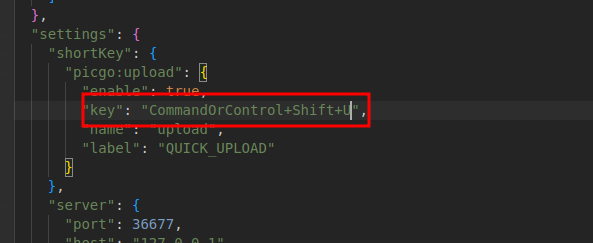
Keyboard Shortcut
For some reason the default keyboard combination for uploading from clipboard is set to CTRL + SHIFT + P which is the same as bringing up the command prompt in VSCode which I do a lot. I found the widget for remapping the key combination was a bit janky so I remapped this by going into the Open Config File setting and changing it manualy
Replies & Web Activities
If you would like to comment or reply then toot me or bluesky me about this url, or send me a webmention